

Beauty blogger Laura Swain from Beauty Best Friend tell us how she learned a new artistic skill - and made a unique gift - with the latest issue of Mollie Makes magazine.

One of the latest crazes in papercrafts is papercutting, the decorative art of cutting designs and shapes out of paper. Its origins date back to the 4th century when the Chinese first invented paper. I thought I'd try it out with a little help from the Papercut Book that came as a free gift in the latest issue 63 of Mollie Makes magazine.
If you've never heard of Mollie Makes it's a monthly magazine packed full of arts and craft tutorials, interviews with craftspeople, tips for selling your handmade goods and lots of other creative articles. What's more, there's a free gift every month - usually a mini kit or some pretty craft supplies - plus a selection of patterned papers for you to use in your papercrafts.

So, as already mentioned, the free gift with this latest issue was a book full of papercutting designs. I'd never tried papercutting before and I wanted to start out with something fairly easy, so I chose this funky pineapple design created by Sarah Louise Matthews.

All you need for papercutting is a cutting mat (or other flat hard surface that you don't mind marking) and a sharp craft knife. It's a fairly simple craft that you can make as easy or as difficult as you want depending on the design you choose.

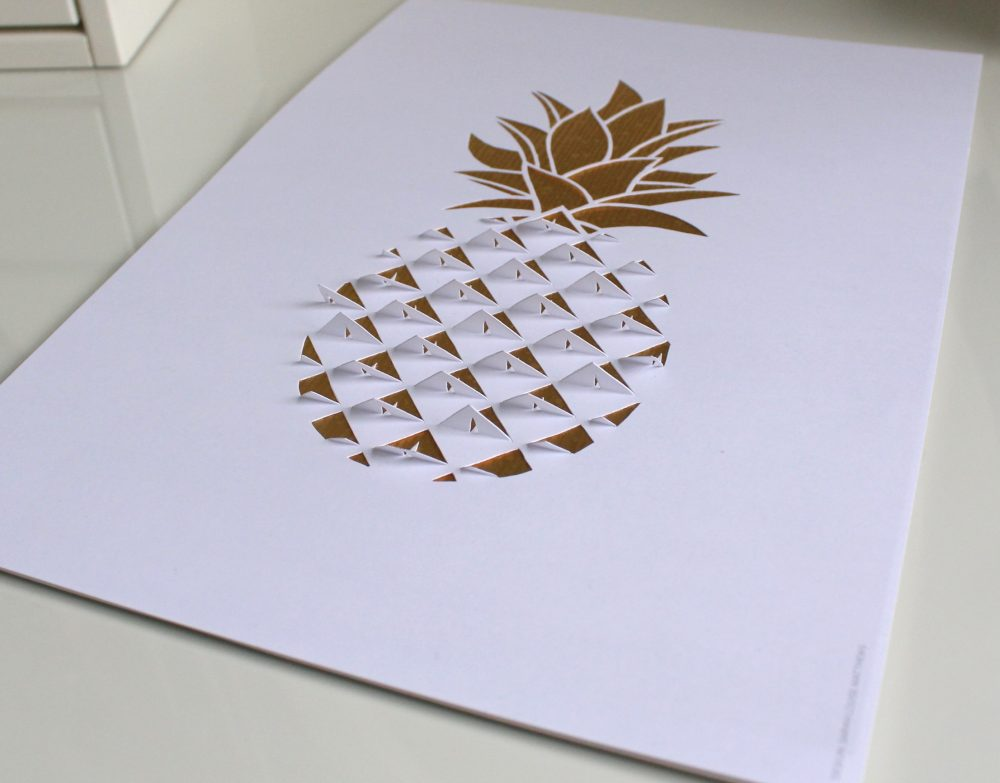
Firstly I carefully cut out and removed the dark shaded areas of the pineapple's leaves - it takes quite a bit of patience to make sure your cuts follow the lines so don't rush it! I find that the curved lines are more difficult to cut than straight lines, so the best way is to gently score the edges of the design first with the knife, then go over your marks for a second time, pressing a bit harder this time to cut through the paper.

Then I cut out the straight and pointy lines of the fruit. You could use a ruler to help you keep to straight lines if you want. Once these sections had been cut I then needed to fold each triangle forward to give the sharp pointy texture of a pineapple's skin. You can see the finished spiky texture of the pineapple in the image below.
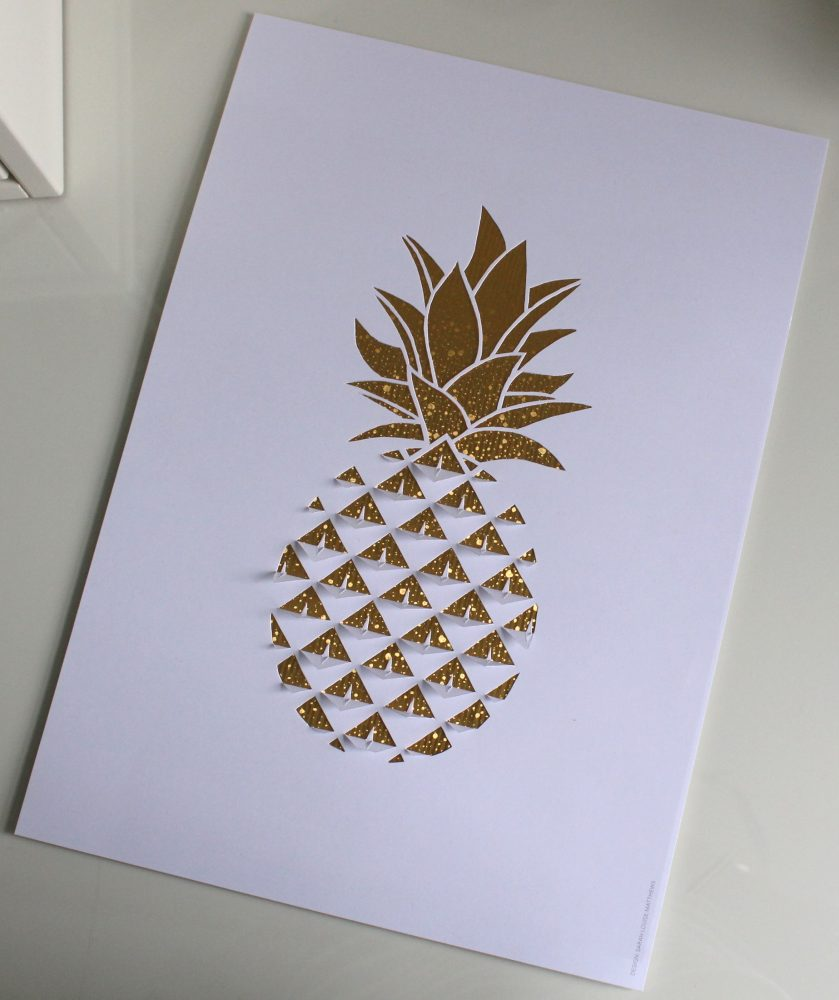
I then chose a piece of contrasting gold card to place behind the pineapple design so the shiny colour showed through the holes. I think gold and white gold go very nicely together and look really classy. I think I'm going to buy a frame for my pineapple papercut picture and display it on my bedroom wall.
So what do you think, will you have a go at papercutting? There are many designs available to download on the internet - just search for 'free papercutting designs'. A framed papercut makes a lovely gift, and you could personalise it too with the recipient's name.