

Gwen McMullin from fashion blog This Fashion Is Mine had a go at one of the DIY challenges in May’s edition of Sew Magazine
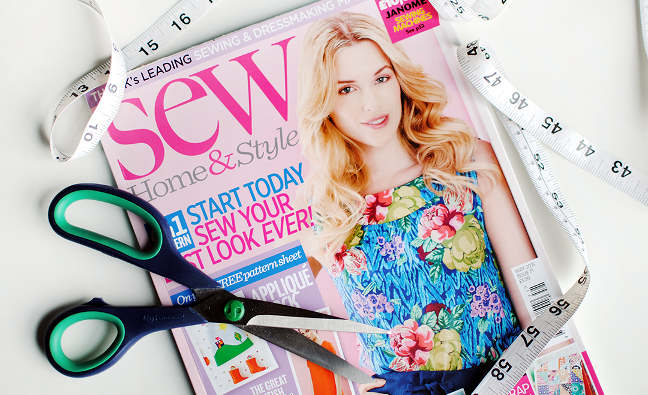
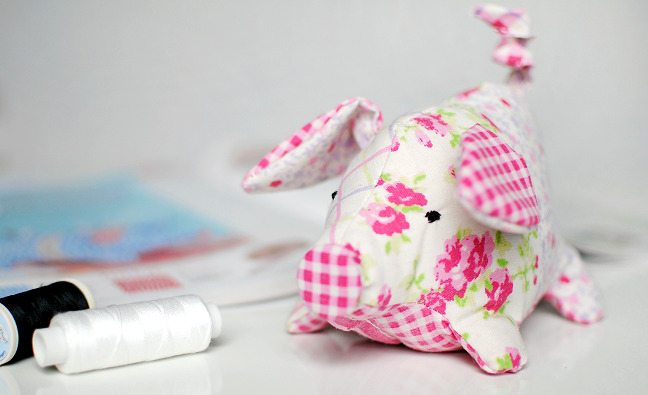
Flicking through the May issue of Sew Magazine I came across one of the sweetest pin cushions in the 3D form of a pig! Patchworked in two different fabrics and finished with a little curly tail I was inspired to try and make one of my own!
If you’re a reader of my blog you may have spotted my DIY tutorials. I’ve always been crafty and although I’m not fantastic at sewing (I still consider myself a beginner) I’m always keen to have a go. This pig pin cushion seemed like a simple enough tutorial, it was even listed as a ‘lunchtime make’. So out came the scraps of fabric and the scissors!
My pig pin cushion


I actually cut up an old pillowcase to make my pig. I liked the shades of pink and green and I wanted to use a mixture of patterns. This saved me going out and buying lots of different fabrics. But you can always buy scraps at a haberdashery or chop up old clothes.
As instructed, I cut out all my shapes (which can be traced right out of the magazine on page 91.) I used a pink gingham for the pig’s belly and a mix of florals and stripes for the pig’s body. After the shapes were cut, I followed the steps for sewing my pig together. I opted for hand sewing this time, thinking stitching the small curves might be too tricky on the machine. Working out what needed to be sewn to what was the hardest part! This was definitely going to take much longer than a lunchtime for me!


When most of the sewing was done it was time to stuff the pincushion pig full of toy filling and make sure his little legs were well-padded too. Adding the button covered nose was a nice touch and easier to achieve than I thought. The ears were very easy to sew and flopped over rather like a Gloucester Old Spot! I stitched on some eyes using black thread but you could use tiny beads or even buttons. I didn’t have a pipe cleaner for his tail so instead I used a small piece of picture wire, which worked just as well.
And I was done! My stitches aren’t neat and he’s a bit of a tired looking pig but I still like the look of him and feel quite accomplished. Now I've made my pig pin cushion I’m now flicking through Sew Magazine for the next thing to try.